


Hello Everyone!!!
In this piece we will address creating awesome and print-ready flyers for your business using Microsoft Word
Step by step, we will walk you through:
1. Initial setup of your file (format and bleed/margins)
2. Creating the flyer’s front side
3. Creating the flyer’s back side
4. Saving your file as a print-ready PDF and converting it to CMYK for commercial printing!
PART 01 : INITIAL FILE-SETUP (FORMAT AND BLEED/MARGINS)
First things first, open your Microsoft Word and set the dimensions of your flyer. You can do this by clicking Layout > Size > More paper sizes.
Now in this example we want to print an A5 format flyer, whose standard dimensions are 21 x 14.8 cm. However, we cannot simply set the dimensions of our Word file to 21 x 14.8 cm, but have to include both bleed and safety margins for optimal results during commercial printing.
a) Add a minimum of 0.3 cm of bleed(on the outside) on each side of your flyer: So actually, we need to set the dimensions of our Word document to 21.6 x 15.4 cm.
Adding bleed is incredibly important because you don’t want to end up with white borders due to the unavoidable slight imprecisions that occur during the cutting process. Bleed needs to be added to ALL artwork files sent to commercial printers!
b) Set safety margins at a distance of at least 0.3cm from your flyer’s edge (on the inside)
We want to avoid losing any important information which is located too close to the flyers’ boundaries.Indeed, cutting printed products is not an exact science, and each piece is a tiny bit different. Not that you will necessarily notice it, but without safety margins there is a risk of important information getting cut off, so let’s not risk it!
You can create these safety margins by simply creating a rectangle which removes 0.3 cm from all sides (e.g. 20.4 x 14.2 cm -> A5-format minus the safety margin). Inside the safe area, you are left with an area you can freely work and design in without having to worry that anything is cut off.We say this every time, so don’t forget to add bleed and safety margins! You won’t regret it. While you are at it, you might as well also just set the orientation of your flyer at this point. Portrait or landscape, which one will it be?
PART 02 : CREATING THE FLYER'S FRONT SIDE
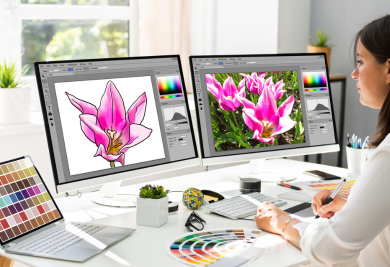
We should now be at the stage where your basic document is ready and you can start with actually working on designing some of the elements. I guess it makes sense to start off with the front size. Feel free to insert a main background picture on the sheet. Just a quick tip, to make your picture easier to move around without changing the text positioned close to it, you can Right click the picture > click Wrap Text > click Behind Text.
Note! It is important to use images with a DPI of 300 or more. You don't want to end up with bad resolution and blurry images/flyers
The next step is to add custom details such as a title, slogan, telephone number, opening hours, address etc. To insert any text, the easiest is to create a text box, add desired content, and place it where you need it. To add icons (e.g. company logo), it’s always best to use vector images (not raster images), which you can easily download from websites such as Freepik.
PART 03 : CREATING THE FLYER'S BACK SIDE
In order to create the backside of our flyers, you can create a separate Microsoft Word file, or simply add a page to the same file, and follow the steps that we outlined above. In this case we will just create a new file for the backside. Just add the graphics and details that you want to have displayed on the back of your flyers or leaflets.
Use text boxes for both text (you can add a background colour and outline different to your main leaflet background, looks quite snazzy as it makes the text easier to read) and images, to make your life easier.
Be creative and I’m sure the outcome will be fabulous!
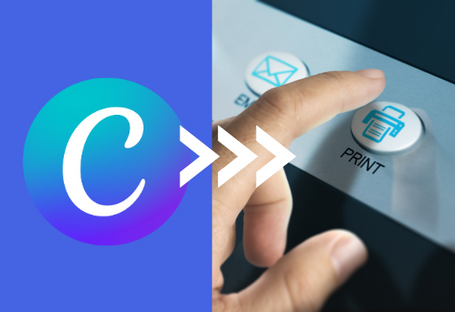
PART 04 : SAVING YOUR FILE
A lot of people underestimate the importance of saving their files in the correct format, which is why they lose things or end up with files that are in the wrong format (depending on the purpose). Once you are satisfied with your final designed flyer (which, if I may add, is a masterpiece), make sure to save the print-ready file in PDF format
Here is how to save your file in PDF Format:
Go To File > Save as > Write your Name > Choose PDF file and Save! Once saved, it is advisable to just check over your finished product again, either to find small mistakes or adjustments you still want to make or simply to take in the leaflet in all its glory.
Hold on just a sec, because we’re not completely done just yet. For an optimal outcome, you still have to make sure that the pdf file is in CMYK colour mode. Here is why this is quite important.
You can do this in Adobe Acrobat (if you have access to it). Otherwise, there are plenty of online tools that you can use to convert a pdf file from RGB to CMYK mode.
And You’re all done! That wasn’t too hard, now was it?
I hope we managed to make your flyer-design task just that little bit easier.