


Window StickersQuick Links
Quick Links
Window Stickers are one of the most versatile marketing tools for any business. They are a quick and inexpensive way to share your contact details with business partners or new potential clients and play an important role in creating a lasting first impression
THB 216.57
Per 1 pcsFast Delivery
Don't know where to start from?
STEP 1Do you have a design ready?
STEP 2Choose Your Options
Need help configuring your product or preparing your artwork?
10400, BANGKOK
Window Stickers
Format
Choose Format
Can't find the size you need?
Infos & Tips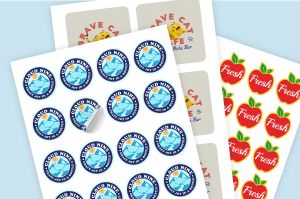 Window stickers are adhesive labels designed to be applied to windows or glass surfaces for decoration, advertising, or privacy purposes. Choose from our standard sizes, each offering its own canvas for creativity
Window stickers are adhesive labels designed to be applied to windows or glass surfaces for decoration, advertising, or privacy purposes. Choose from our standard sizes, each offering its own canvas for creativityHow to choose the perfect fit?
If you have a design, verify its dimensions using Adobe Acrobat's 'Check Document Property' function; discover more details here. Don't have a design yet? Utilize our templates tailored for the specified sizes.Side Of Print
Choose Side Of Print
Infos & Tips We offer only single sided printing for this product.
We offer only single sided printing for this product.Why do we offer only one?
Because for stickers, we can only print on the non adhesive side of the material.Paper Type
Choose Paper Type
Infos & Tips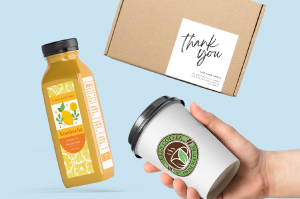 Explore our different sticker materials, each uniquely tailored to cater to your specific needs and preferences.
Explore our different sticker materials, each uniquely tailored to cater to your specific needs and preferences.Which material should I choose?
Choose Front Adhesive Sticker if your wish tot print your stickers on PVC plastic with front adhesive. Best suited for placing on the inside of a window. While PVC Sticker Clear, is perfect if you with to print your sticker on a transparent PVC sticker material.Refinement
Choose Refinement
Infos & Tips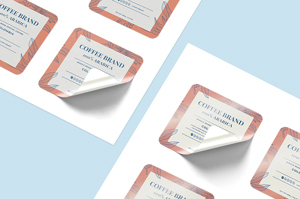 Wide selection of synthetic finishes is offered to elevate your product.
Wide selection of synthetic finishes is offered to elevate your product. How to choose which finishing is suitable for you?
Matte lamination offers a smooth, non-glossy feel, while glossy lamination provides a shiny finish. The spot varnish finishing is to highlight certain part of your artwork to draw more attention with a captivating glossy finish on specific spots.Sticker shape
Choose Sticker shape
Infos & Tips Our product now offers Rectangular, Rounded, and Customized shaped stickers. Please note that if you select customized sticker shape your artwork file requires a die-cut line. If you require our help, choose our Edit / Replicate service and our designer will ensure a smooth artwork process.
Our product now offers Rectangular, Rounded, and Customized shaped stickers. Please note that if you select customized sticker shape your artwork file requires a die-cut line. If you require our help, choose our Edit / Replicate service and our designer will ensure a smooth artwork process.Which sticker shape should I choose?
Each option brings unique design possibilities and functionality to suit diverse preferences and applications. Whether you prefer the classic elegance of rectangles, the soft edges of rounded stickers, or the custom shapes of die-cut stickers, our versatile range ensures the perfect fit for your needs. However, please refer to our artwork guidelines on the artwork preparations if you wish to go for die cut custom shape stickersIf I chose a custom-shaped format, how should I prepare my artwork?
Your artwork will required a vectorization, please refer to our guide for more details.STEP 3
Choose a Quantity & Delivery Date
Please select the price below to see the cutoff time.
Quantities
Receive your products by
1 pcs
2 pcs
3 pcs
4 pcs
5 pcs
10 pcs
20 pcs
50 pcs
100 pcs
200 pcs
300 pcs
500 pcs
1,000 pcs
Can't find the quantity you're looking for? You can add a custom quantity you want
Set Custom Quantity


