Need help? Call us at 02-026-3147
 Thai / Thai
  English / English
 How to reach us
![]() 02-026-3147
02-026-3147
social media
![]()
![]()
![]()
![]()

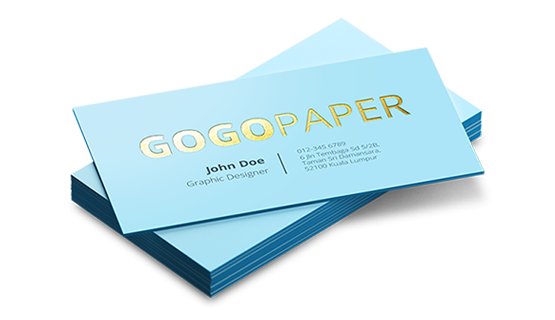
Print Hot Foil Business Cards
-
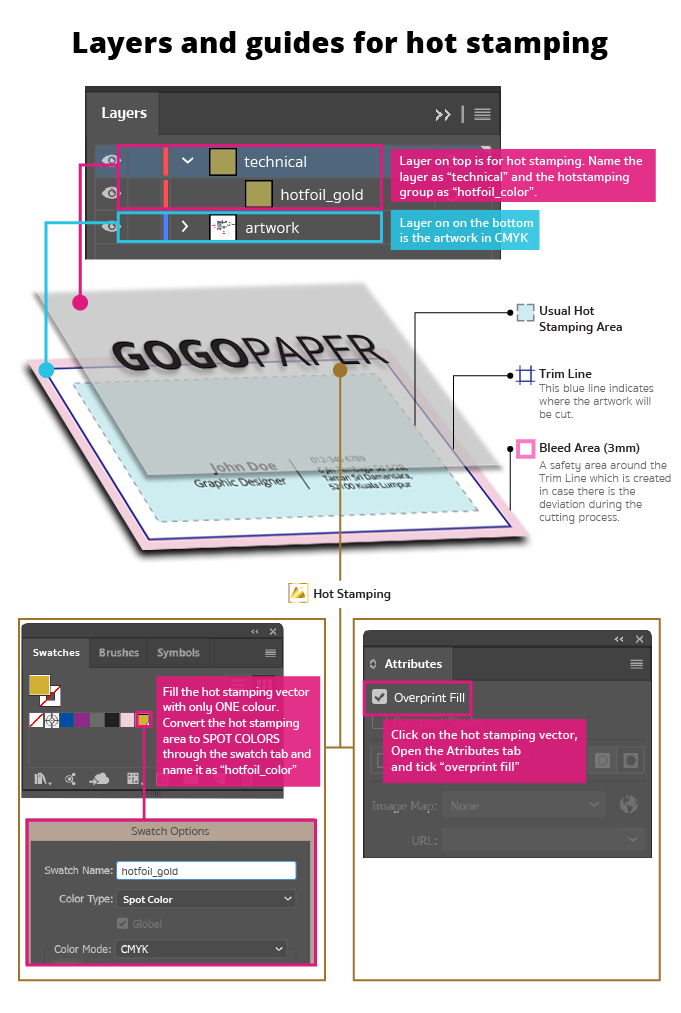
1. How to prepare hot stamping artwork files: main option
-
2. Add 3 mm of bleed
During the production of paper products, cutting imperfections are to be expected - cutting can be off by a couple of millimeters from the cutting line. To allow leeway for such imperfections, you should add 3 mm of bleed on all edges of your artwork. Make sure that all colors, background pictures, and elements extend to the edge of the bleed area, to avoid the appearance of while borders on certain edges after cutting. Learn more how to set up the bleed here.
-
3. Keep your content within a 3 mm safety margin
To ensure that no important elements (text, graphics, images) get cut off from your paper product, make sure to keep such elements at least 3 mm away from the edge of your finished product dimensions.Click here to know how to set up 3 mm safety margin.
-
4. Use CMYK color mode
Except for silkscreen and pad printing, files should be prepared in CMYK color mode. Keep in mind that if the setup is wrong, colors on the finished product may differ from the file you sent. Here is how to set your artwork to CMYK color mode in Adobe Illustrator.
-
5. Use an image resolution of at least 300 DPI
To avoid blurriness, use only images and graphics that have a resolution of 300 DPI or more. Before sending your files, make sure to embed your images into the file. Read more about how to check the resolution of your assets.
-
6. Use the right values for gray elements
When setting up grey elements, set K to a percentage between 0 and 100, and keep all other colors (C, M, and Y) equal to 0%.
-
7. Use the right values for black elements
When setting up black text, thin lines and small elements, use pure black, i.e. C = 0, M = 0, Y = 0, K = 100). Text, thin lines, and small elements in pure black color should be set to overprint to avoid white gaps around the text. For larger elements, use a composite form of black (we recommend C = 30, M = 0, Y = 0, K = 100).
-
8. Use maximum 2 colors for lines that are finer than 2 pt
If lines are 2 pt thick or less, use only 1 or 2 colors. 4 colors may be used for thicker lines.
-
9. Convert all fonts to outlines, or embed them in your file
To avoid issues with fonts when submitting your file(s), make sure to convert fonts to outlines, or to embed all fonts when saving to PDF.
-
10. Save and upload your artwork files as PDF/X-1a
The best format for submitting print-ready files is PDF, under the PDF/X-1a standard. Where possible, submit your files in PDF format. See why PDF/X-1a is the right format for printing.
-
11. Check for overprint
Make sure that no elements are set on overprint, unless you need them to be.
About Gogoprint
- About GGP
- Read our Blog
- Promotional Products
- Closing your Artwork
- Best Price Guarantee
- Terms & Conditions
GGP in APAC
Get in touch
- Gogoprint (Thailand) Co., Ltd.
188, Spring Tower, 11th Floor,
Room 11-110, Phaya Thai Road,
Thung Phaya Thai, Ratchathewi, Bangkok 10400
VAT ID: 0-1055-58155-90-5
E-mail:[email protected]
Phone:02-026-3147
LINE: @gogoprintthailand
(Mon - Fri, 9:00AM to 6:00PM
Sat, 10:30AM to 3:00PM)
We are not accepting any walk-ins or appointments at the moment
SECURED SERVER
256-bit encrypted
TRUSTED PLATFORM
DBD registered
SAFE BROWSING
Verified by Google

Not Sure How to Order? Add us on LINE
Click here to add us on Line
Scan our QR code to get started
Our team will help you select the right product and get your order delivered in no time.

You can also call us
02-026-3147