


Table CalendarsQuick Links
Quick Links
Table Calendars are one of the most versatile marketing tools for any business. They are a quick and inexpensive way to share your contact details with business partners or new potential clients and play an important role in creating a lasting first impression
THB 2,125.00
Per 10 pcsFast Delivery
Don't know where to start from?
STEP 1Do you have a design ready?
STEP 2Choose Your Options
Need help configuring your product or preparing your artwork?
10400, BANGKOK
Table Calendars
Format
Choose Format
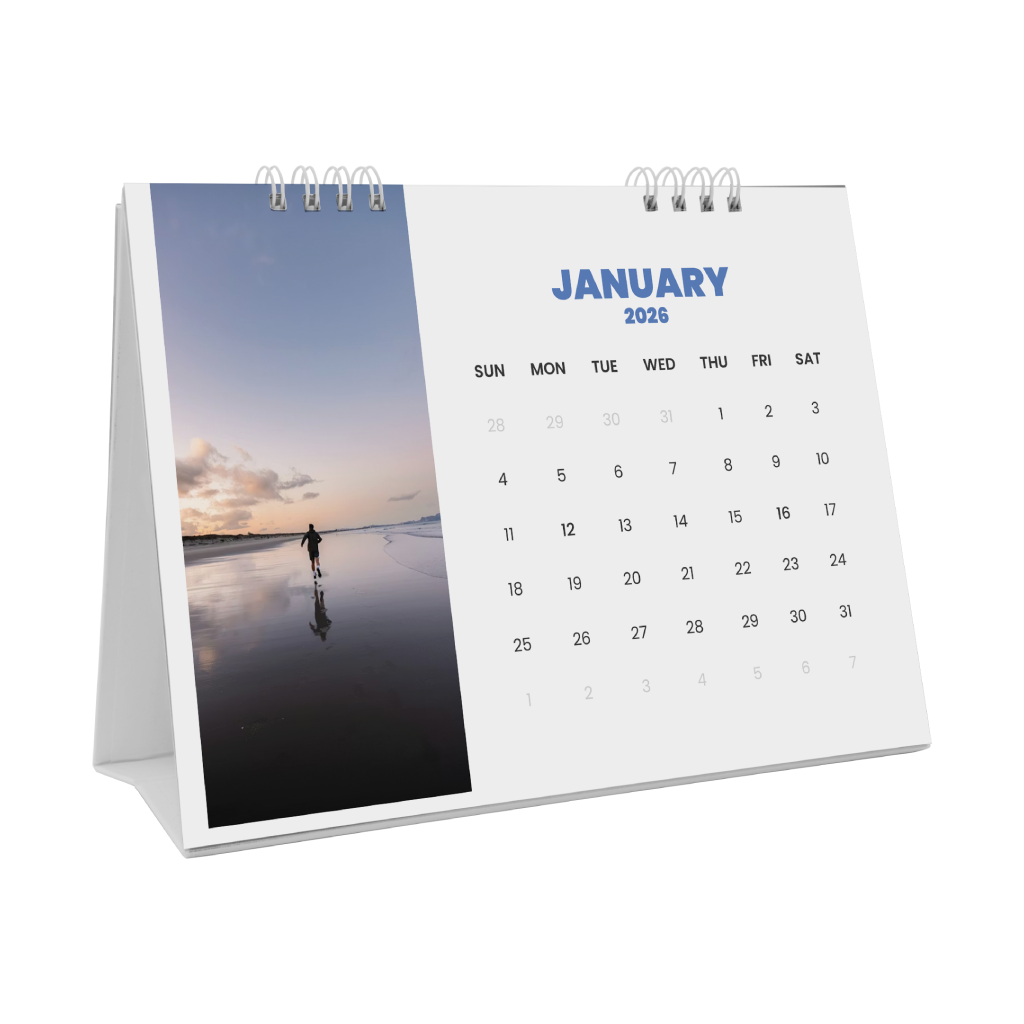
Infos & Tips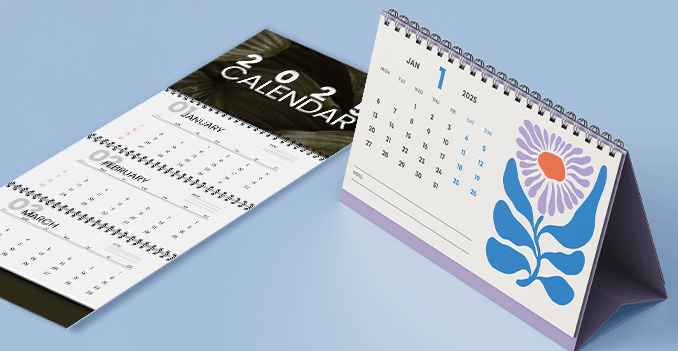 Discover our table calendars in two convenient format sizes, each available in both portrait and landscape orientations to suit different preferences and display needs. The first size is 6 x 8 inches, perfect for compact spaces while still providing enough room for clear dates and custom designs. The second option, 7 x 9 inches, offers a slightly larger display area for enhanced visibility and a more impactful presentation. Whether you prefer a vertical or horizontal layout, both sizes are designed to blend functionality with style, making them ideal for desktops, counters, or office use.
Ensuring each beautiful image is displayed with elegance the Table Calendar.
Discover our table calendars in two convenient format sizes, each available in both portrait and landscape orientations to suit different preferences and display needs. The first size is 6 x 8 inches, perfect for compact spaces while still providing enough room for clear dates and custom designs. The second option, 7 x 9 inches, offers a slightly larger display area for enhanced visibility and a more impactful presentation. Whether you prefer a vertical or horizontal layout, both sizes are designed to blend functionality with style, making them ideal for desktops, counters, or office use. Ensuring each beautiful image is displayed with elegance the Table Calendar.
How to choose the perfect fit?
If you have a design, verify its dimensions using Adobe Acrobat's 'Check Document Property' function; discover more details here. Don't have a design yet? Utilize our templates tailored for the specified sizes.Side Of Print
Choose Side Of Print
Infos & Tips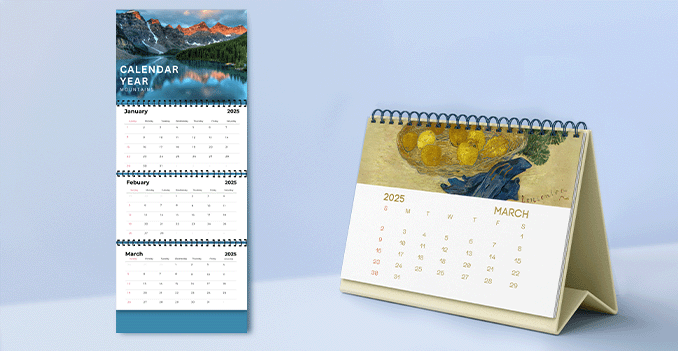 Maximize visual impact with full-color, double sided printing.
Maximize visual impact with full-color, double sided printing.Bring your calendar to life with full-color printing.
Elevate your table calendar with vibrant, full-color printing on front and back sides of each page. This premium feature allows for a more dynamic and engaging design—perfect for showcasing stunning imagery on one side and clear, organized calendar layouts on the other. Whether it's highlighting beautiful visuals, brand elements, or extra space for notes and promotions, double-sided printing maximizes functionality without sacrificing style. With rich colors and crisp detail on every page, your calendar will stand out from every angle.Paper Type
Choose Paper Type
Infos & Tips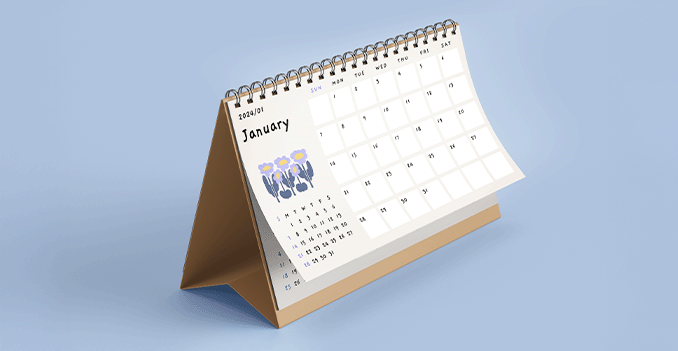 Discover a paper materials, each designed to meet your unique needs and preferences.
Discover a paper materials, each designed to meet your unique needs and preferences.Which paper weight should you choose?
We produce our table calendars using high-quality art card glossy paper, available in two durable weight options: 210gsm and 260gsm. The 210gsm variant offers a sleek, lightweight feel ideal for cost-effective, everyday use, while the 260gsm option provides added thickness and sturdiness for a more premium and long-lasting finish. Both options feature a glossy coating that enhances color vibrancy and sharpness, making your calendar designs stand out beautifully on any desk or tabletop.Number of Pages
Choose Number of Pages
Infos & Tips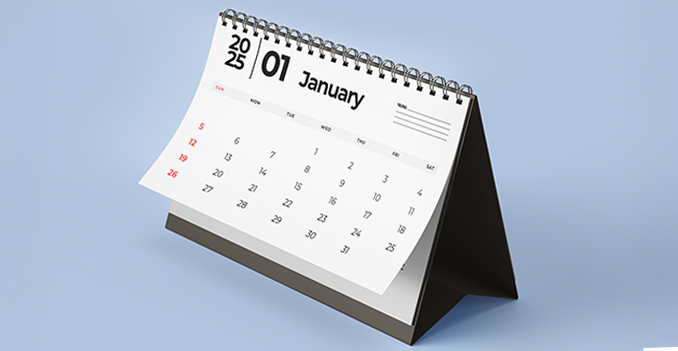 Less is more: The perfect page count for Table Calendars.
Less is more: The perfect page count for Table Calendars.Why are table calendars typically limited to 16 or 28 pages?
Table calendars are most commonly produced with 16 or 28 pages to ensure the best balance between functionality, stability, and cost-efficiency. These page counts are ideal for standard calendar formats—such as 12 months plus covers, or additional pages for notes, ads, or photos—without making the calendar too bulky or unstable when standing. More than 28 pages can cause the calendar to lean or topple over, while fewer pages may limit space for design and usability. Choosing 16 or 28 pages keeps the calendar practical, visually appealing, and structurally sound for everyday use on desks and tabletops.Bookbinding
Choose Bookbinding
Infos & Tips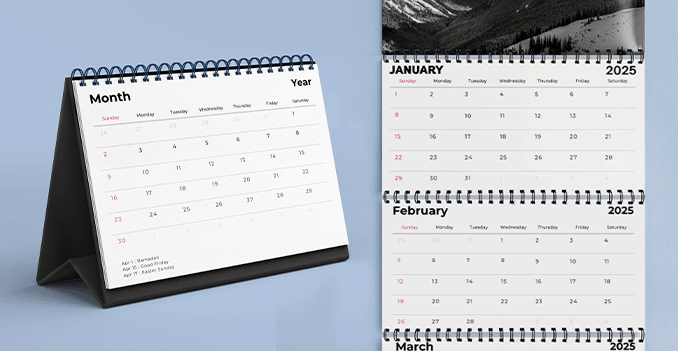 Choose white wire-o binding to give your table calendar a polished, professional touch.
Choose white wire-o binding to give your table calendar a polished, professional touch.Wondering how to choose perfect bookbinding for your calendar?
Experience our durable wire-o bookbinding in white color options to perfectly match your table calendar’s design. This binding style allows for easy page flipping and a stable, upright display, while adding a clean, professional look that complements any layout.STEP 3
Choose a Quantity & Delivery Date
Please select the price below to see the cutoff time.
Quantities
Receive your products by
10 pcs
20 pcs
50 pcs
100 pcs
200 pcs
300 pcs
500 pcs
1,000 pcs
2,000 pcs
3,000 pcs
Can't find the quantity you're looking for? You can add a custom quantity you want
Set Custom Quantity
Your products will be delivered within a specified timeframe after you approve the final design / online proof.


